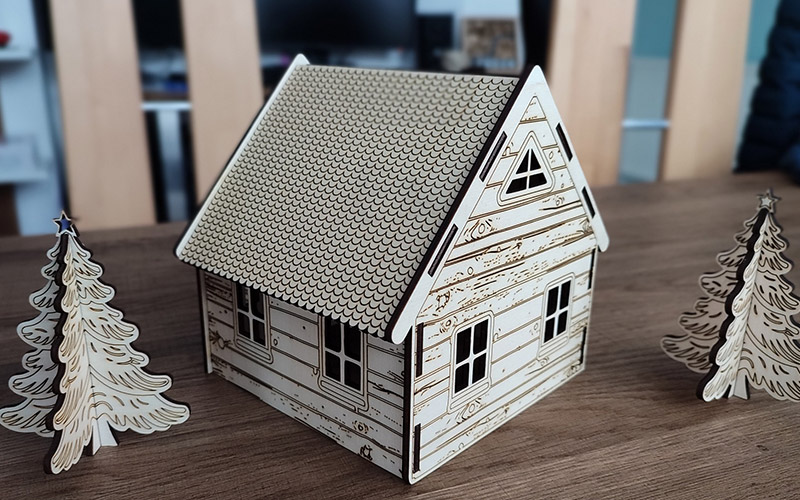

Getting the right settings is key to clean and accurate wood laser engraving. Power, speed, and material type all affect how your design turns out.
Different woods react in different ways. Hardwoods may need more power, while softer woods cut better with lower settings. Moisture and grain also impact results.
This guide covers the settings and tips you need to get sharp, professional-looking engravings on wood every time.
Choosing the Right Wood for Laser Engraving
Learn how to choose the best wood for laser engraving by understanding how different types react to heat, speed, and power settings.
1. Hardwoods vs Softwoods for Laser Engraving
Hardwoods come from trees that lose their leaves each year, such as maple, oak, walnut, cherry, and birch. These dense woods allow for deeper, cleaner engraving and a smooth finish.
Softwoods, like pine, cedar, basswood, poplar, and bamboo, are less dense and easier to cut. While they may not offer the same fine detail, they work well for fast, low-cost engraving projects.
Knowing the difference helps you adjust your settings and choose the right wood for the result you want.
2. Selecting the Best Wood for Laser Engraving
Choosing the right wood depends on your project goals. Walnut and cherry are ideal for detailed designs, offering rich tones and fine grain.
Maple has a smooth, light surface that works well for sharp engravings and takes stain easily. Basswood is great for beginners thanks to its soft texture and ease of use.
For outdoor items, cedar and pine offer better durability. Each wood type affects the look and quality of your engraving, so match your choice to your project’s needs for the best results.
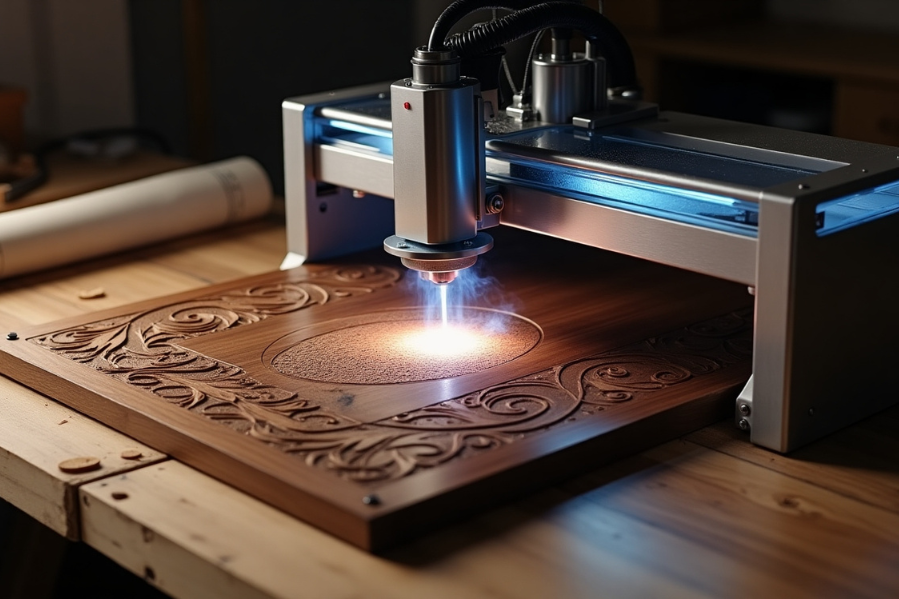
How to Set the Best Laser Engraving Settings
Discover how to adjust laser power, speed, and focus to get the best engraving quality based on your material and design needs.
1. Adjusting Laser Power and Speed Settings
Selecting the right power and speed is crucial for clean engraving. Hardwoods often need higher power, while softwoods respond better to lower settings. A common starting point is 20–60% power and speeds of 100–300 mm/s.
Instead of repeating the process in each project, it’s best to run a quick test on scrap wood to fine-tune your settings. Logging the results helps you save time and improve accuracy in future work.
2. Improving Engraving with Air Assist and Cooling
Air assist helps keep the engraving area clean by blowing away smoke and debris. This reduces scorching and improves detail. For best results, set the pressure between 15 and 20 PSI.
Cooling systems are just as important. They prevent the laser from overheating, which can affect performance and damage components. Using water cooling or air conditioning keeps the machine running smoothly, especially during long sessions.
3. Managing Focal Length and Wood Thickness
The lens focus should match your material’s thickness to ensure clean, precise cuts. For thicker wood, increase the distance between the laser and the surface.
Power and speed adjustments depend on thickness too. Thicker wood generally needs more power and slower speed, but for exact values, refer back to your earlier test cuts and material notes.
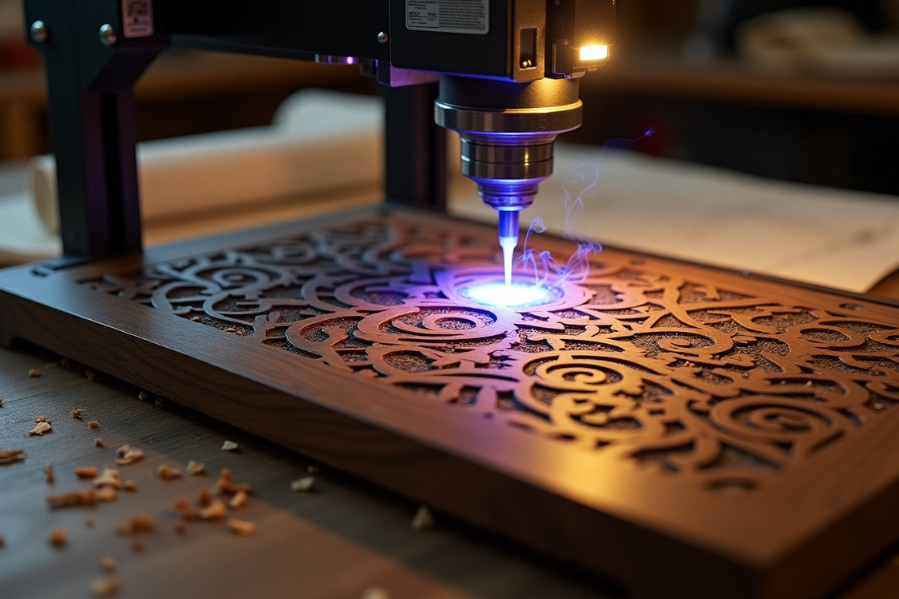
Creating Detailed and Intricate Wood Engravings
Learn how to achieve sharp, high-detail designs on wood by using the right settings, materials, and techniques for intricate laser engraving.
1. Preparing Design Files for Detailed Engraving
Creating a clean design file is key to getting accurate results. Vector files are best for laser engraving, as they keep sharp lines at any size. Tools like Adobe Illustrator, Lightburn, and CorelDRAW work well for creating these files.
Make sure all vector lines are clear and well-defined. This helps the laser follow paths precisely and produce clean edges. If starting with an image, convert it to a vector format for better clarity.
Detailed designs often need slower speeds and lower power to capture fine lines. Adjusting these settings based on complexity improves results and helps create high-quality, personalized pieces.
2. Achieving Professional-Quality Results
For bold contrast, go deeper with slower speed and higher power. For finer details, shallow engraving works better.
There’s no need to guess—reuse the test engravings and setting logs from earlier steps to find the right balance between quality and speed for your final design.
3. Safety Measures and Best Practices
Staying safe while laser engraving starts with the right gear and habits. Personal protective equipment (PPE) and routine checks help reduce risks and keep projects running smoothly.
Key safety practices include:
- Wear laser safety goggles to protect your eyes from harmful light
- Use gloves when handling materials or adjusting parts
- Clear the workspace of any flammable materials before starting
- Understand machine settings and built-in safety features
- Follow the manufacturer’s guidelines for safe operation
- Perform regular maintenance to prevent breakdowns or hazards
Following these steps helps protect the operator and improves the overall quality of your laser engraving work.
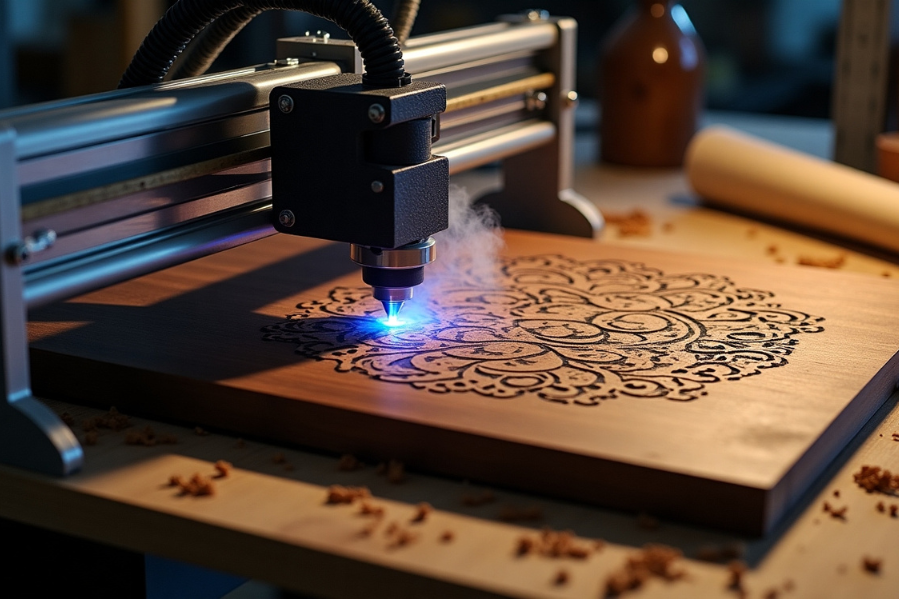
Essential Tools for Laser Engraving
Discover the essential tools and accessories that help improve precision, safety, and efficiency in laser engraving projects.
1. Choosing the Right Laser Engraving Machine
Choosing the right laser engraver is important for getting clean and accurate results. CO₂ laser machines are a good fit for wood because they handle natural materials well.
The OMTech MF2028-80 is a strong choice. It works well for both beginners and professionals and delivers detailed engravings on wood.
Thunder Laser USA’s Bolt Pro is another great option. It can engrave at high speeds and gives smooth, clear results. Thunder Laser is also known for reliable machines and helpful customer support.
When picking a machine, consider the following:
- Power helps with cutting thicker wood and engraving faster.
- Precision ensures clean, detailed results.
- Workspace size should match the scale of your projects.
- Software compatibility with tools like LightBurn makes setup easier.
- Support from the brand adds reliability and peace of mind.
The right engraver will help you create better designs and finish your work faster with less effort.
2. Software and Material Preparation
Setting up the right software and preparing materials properly is key to successful laser engraving. Design programs like Inkscape help create custom artwork and manage engraving settings with ease.
Wood preparation is just as important. Sanding the surface and applying masking tape can prevent burns, splinters, and uneven edges during engraving.
Popular choices like Baltic birch and basswood offer smooth grains and low resin content, making them ideal for clean, detailed cuts. Always run a test engraving to fine-tune DPI and power settings for each wood type.
Steps for effective material preparation include:
- Clean the surface to remove dust and debris
- Adjust laser settings based on the wood’s type and thickness
- Test on scrap wood to calibrate power and resolution
Proper preparation leads to better results, whether you’re creating products for business or personal projects.
Final Thoughts
Mastering wood laser engraving settings takes some testing, but the results are worth it. With the right combination of wood, software, and laser adjustments, you can achieve clean, detailed, and professional-quality designs every time.
Whether you’re a hobbyist or building a business, the right tools make all the difference.
Explore our recommended laser engravers and accessories to take your projects to the next level.
Frequently Asked Questions
1. How to make engraving darker on wood?
To make engravings darker on wood, apply a 2–3% borax solution before engraving. It helps the laser burn deeper, creating a bolder, more defined result.
2. How do you engrave wood neatly?
To engrave wood neatly, start by transferring your design using graphite paper. Use fine chisels to carve carefully along the lines, then sand the edges for a smooth finish. Finish with oil, paint, or stain to enhance the look.
3. How to laser engrave wood without burning?
To avoid burn marks while laser engraving wood, apply masking tape to the surface before engraving. Use air assist and a honeycomb panel to reduce smoke buildup. Adjust power and speed settings for cleaner results, and lightly mist the surface with water if needed.
4. Should I sand wood before laser engraving?
Yes, you should sand wood before laser engraving. A smooth, even surface helps the laser engrave more accurately and prevents flaws caused by rough spots or imperfections.
5. How does wattage impact the quality of laser engraving on wood?
Wattage directly impacts the laser’s cutting and engraving capabilities. Higher wattage allows for faster engraving and deeper cuts, while lower wattage is better for precision work on delicate materials. Matching the wattage to the wood type is crucial for achieving quality results.