
Laser cutting acrylic is a great way to create clean, detailed designs for signs, displays, and creative projects. With the right approach, you can achieve smooth cuts and sharp engravings that look professional.
Whether you’re new to laser cutting or want better results, knowing how to handle acrylic makes a big difference. From choosing the right material to setting up your machine, each step matters.
In this guide, you’ll learn the best tips, tools, and techniques for laser cutting acrylic. It’s designed to help you avoid common mistakes and get the best finish every time.
What You Should Know About Laser Cutting
Laser cutting uses a focused beam of light to cut materials with high accuracy. It works especially well with acrylic. Knowing how the process works and the types of acrylic available can help you get better results.
1. Fundamentals of Laser Cutting Technology
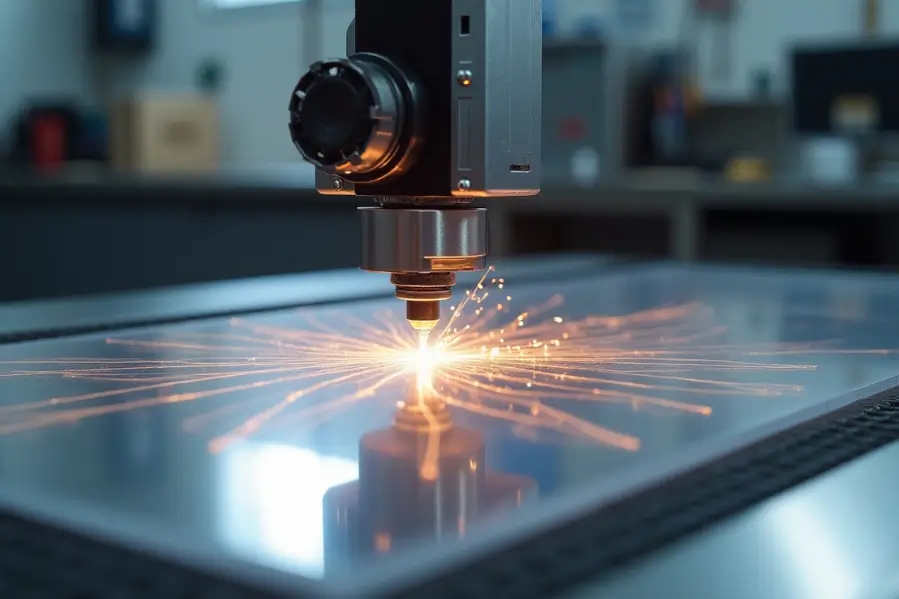
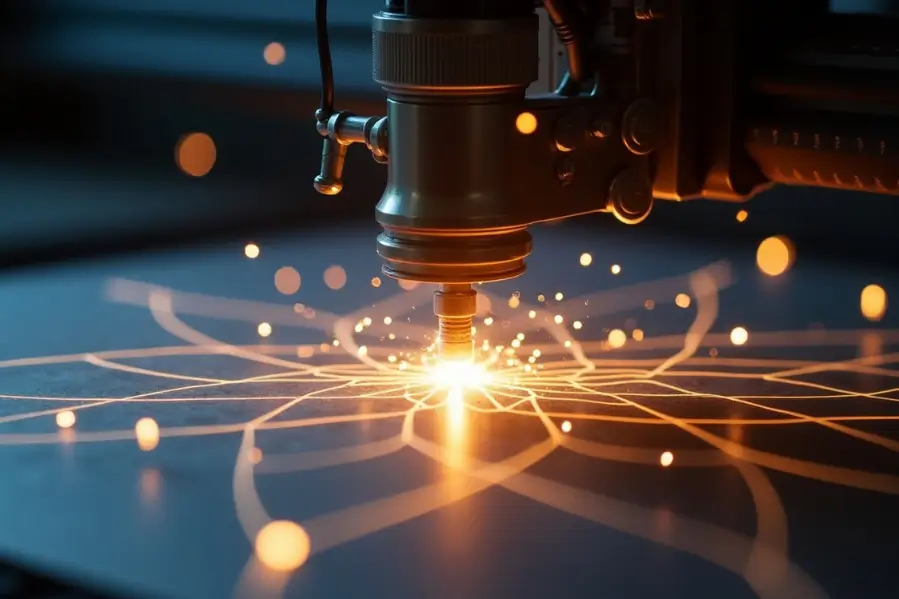
Laser cutting employs a high-powered laser beam that melts or vaporizes material, enabling highly accurate cuts. The laser cutting machine is calibrated to focus the beam, ensuring that the intensity is optimal for the material thickness being processed.
When cutting acrylic, attention to parameters like speed, power, and focus is crucial. For instance, slower cutting speeds can lead to smoother edges, while faster speeds may increase efficiency but risk rougher finishes. The thickness of the acrylic sheet will also determine the required power settings.
Overall, effective calibration of the laser cutter is necessary to achieve high precision in each project.
2. Different Types of Acrylic for Laser Cutting
Acrylic, also known as PMMA (polymethyl methacrylate), comes in two primary types: cast acrylic and extruded acrylic. Both types are suitable for laser cutting but have distinct characteristics.
- Cast acrylic: Produced by pouring liquid PMMA into a mold, this variety offers superior clarity and edge quality. It is ideal for applications where aesthetic appearance is vital.
- Extruded acrylic: Created through a continuous extrusion process, this type is less expensive and easier to shape. However, it may produce rougher edges when cut with a laser.
Choosing the right type of acrylic significantly impacts the outcome of laser cutting projects, as each type reacts differently to heat and cutting techniques.
Preparing Acrylic for Laser Cutting
Preparing acrylic for laser cutting involves careful planning and attention to detail. Proper preparation ensures high-quality results and optimal performance from the laser cutting machine. Key aspects include design considerations and machine setup.
1. Design Considerations for Laser Cut Acrylic
Use vector-based software to create your design. This helps the laser follow clear paths. Always include kerf in your design. Kerf is the small gap the laser makes when cutting.
There are two types of acrylic: extruded and cast. Use extruded acrylic for cutting and cast acrylic for engraving. Adjust the laser speed and power based on the thickness. Thicker sheets need slower speed and higher power.
Avoid sharp corners or tiny details. Simple curves and rounded edges work better. Always preview the design before cutting to spot any mistakes.
2. Setting Up the Laser Cutting Machine
Choose the right laser power based on the thickness of the acrylic. Thicker sheets need higher power to cut cleanly.
Set the cutting speed and frequency. Slower speed gives the laser more time to cut through. Higher frequency helps with detailed work.
Clean the acrylic sheet before cutting. Use masking tape to protect the surface from scratches. Always run a test cut on scrap material to check your settings before starting the final cut.
Executing the Cut and Post-Processing
Cutting acrylic with a laser takes precision. After the cut, post-processing helps improve the look and quality of the final piece.
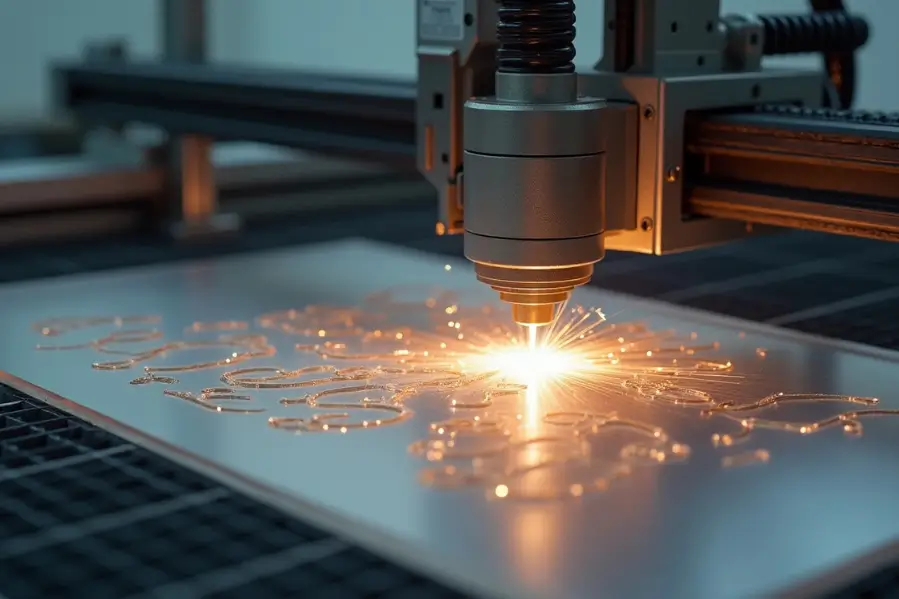
1. The Acrylic Laser Cutting Process
During the acrylic laser cutting process, the machine uses a high-powered laser beam to either melt or vaporize the material. The settings must be adjusted based on the thickness of the acrylic sheet—common thicknesses range from 1/8 inch to 1 inch.
Key Factors to Consider:
- Cutting Speed: Faster speeds can lead to incomplete cuts, while slower speeds may cause burn marks.
- Power Settings: Adjustments should be made to prevent burning or excessive melting.
- Focus: Properly focusing the laser ensures precise cutting and clean edges.
Operators should monitor the cutting process closely, as acrylic can easily burn if the settings are incorrect. Maintaining effective ventilation is crucial to avoid smoke and fumes.
2. Cleaning and Finishing Acrylic Parts
After cutting, the acrylic parts often require cleaning and finishing to remove residue and improve clarity. Adhesive residue or charred edges should be addressed to enhance aesthetic quality.
Cleaning Steps:
- Initial Rinse: Use water to remove any larger debris.
- Gentle Cleaning Solution: A mild soap solution can help eliminate remaining dirt without scratching.
- Drying: Pat the surface dry with a clean microfiber cloth.
For finishing, methods such as sanding or flame polishing can further enhance the look. Sanding helps smooth edges, while flame polishing removes minor imperfections and adds shine. Both processes improve overall clarity and provide a professional finish to the acrylic parts.
Applications and Maintenance
Laser cutting acrylic is widely used across industries. Knowing its uses and how to maintain your equipment helps ensure clean results and longer tool life.
1. Common Applications of Laser Cut Acrylic
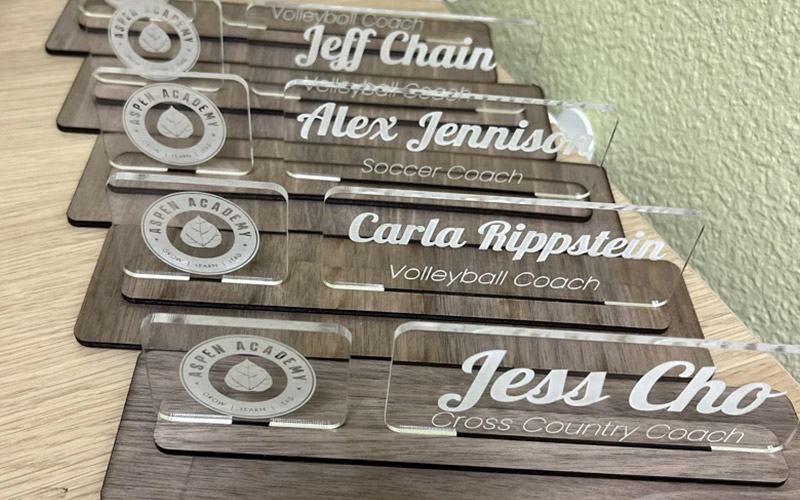
Laser cut acrylic is used in many projects because it is strong and clear. It works well for signs, displays, and custom acrylic pieces. Businesses often use it for logos and branding that need clean lines and a polished look.
Acrylic is also great for engraving. You’ll find engraved acrylic in awards, gifts, and nameplates. Laser cutting creates less waste and can handle detailed designs that regular tools can’t.
Some limits include trouble cutting very thick pieces or getting burn marks if settings aren’t right. Still, many industries rely on CO2 lasers for accurate and clean results.
2. Maintaining Your Laser Cutter for Optimal Performance
Keep the lens and mirrors clean. Dust or residue on these parts can weaken the laser and affect cutting quality.
Check your power and speed settings often. Adjust them based on the material to avoid burning or melting the acrylic.
Inspect the air assist system regularly. Weak air assist can leave marks or residue on the cut. Use safety gear when doing any maintenance. Regular care keeps your machine running well and your cuts clean.
Final Thoughts
Laser cutting acrylic is a powerful way to create clean, detailed designs. With the right setup and care, you’ll get great results every time.
Ready to bring your acrylic projects to life? Explore our recommended laser cutters or get in touch for expert advice on finding the right setup for your needs.
Frequently Asked Questions
1. What are the optimal laser cutting settings for acrylic material?
For cutting acrylic, recommended settings typically include a power level between 60-80% and a speed setting of 1000-1500 mm/min. These settings can vary based on the thickness and type of acrylic being used.
2. What is the ideal thickness of acrylic for achieving the best results with laser cutting?
The ideal thickness for laser cutting acrylic usually ranges from 1/8 inch to 1/4 inch. Thicker acrylic may require adjustments to power and speed settings or may not cut as cleanly without proper equipment.
3. Can clear acrylic be effectively cut using a diode laser, and if so, how?
Yes, clear acrylic can be cut with a diode laser. It is important to set the power between 60-80% and maintain an appropriate cutting speed. Ensuring the acrylic is clear and free from impurities will also enhance the cutting process.