
Laser engraving can leave smoke marks, dust, or residue on leather. Cleaning it the right way helps protect the surface and keep it looking sharp.
Using the right tools, like saddle soap and a soft cloth, removes leftover marks without damaging the leather. It’s important to avoid harsh cleaners that can dry or stain the surface.
In this guide, you’ll learn simple steps to clean laser-engraved leather safely and effectively.
What You Need to Know About Leather Engraving
Leather engraving requires the right tools, settings, and leather type. Knowing these basics helps you get clean, high-quality results.
1. Types of Leather for Engraving
When considering leather for engraving, it is essential to distinguish between various types. Common choices include:
- Full Grain Leather: This is the highest quality leather, showcasing natural markings. It offers a rich texture but may require more care during engraving.
- Top Grain Leather: Slightly sanded for a smoother finish, top grain is easier to work with and engrave, making it a popular choice.
- Genuine Leather: Often regarded as lower quality, it can still be engraved, but results may not match higher-grade options.
Selecting the right type affects the clarity and longevity of the engraving.
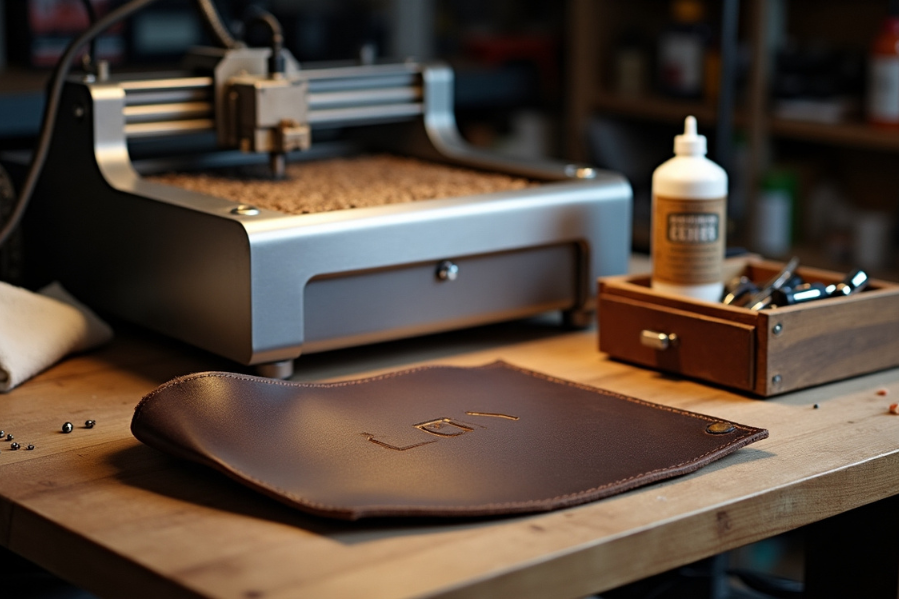
2. Choosing the Right Laser Engraving Machine
Selecting an appropriate laser engraving machine is vital for optimal results. A CO2 laser engraver is frequently the best choice for leather due to its precision and ability to cut or engrave without damaging the material.
Key factors to consider include:
- Power and Speed: Machines should offer adjustable settings to control the intensity of the engraving.
- Work Area Size: Ensure the machine can accommodate the dimensions of the leather pieces.
- Versatility: Ideally, the machine should handle various leather types and other materials for expanded project options.
3. Laser Parameters for Engraving Leather
Understanding the correct laser parameters is critical in achieving desired effects. Key settings include:
- Power Settings: Higher power can cut, while lower settings enhance engraving. Adjustments depend on leather thickness.
- Speed: Slower speeds allow for deeper engraving but can also burn leather if set too low.
- Frequency: This affects the density of engraving. Higher frequencies result in fine details, while lower settings can produce deeper effects.
It is recommended to conduct test runs on scrap leather to determine the best settings for each project. This practice ensures clean and precise engravings without damaging the leather material.
Preparing Leather for Laser Engraving
Properly preparing leather before engraving helps achieve better results. Clean the surface and apply the right materials to protect it during the process.
1. Cleaning the Leather
Thoroughly cleaning the leather before engraving is essential to achieve precise results. Dust, dirt, or oils can interfere with the engraving process and affect the final appearance.
Start by using a soft cloth to wipe away any visible debris. For deeper cleaning, a gentle cleaner suitable for leather can be applied. Avoid harsh chemicals that might damage the material, especially if working with suede.
Make sure the leather dries completely before proceeding. This will prevent moisture interference during engraving. If the leather has dye, ensure it is set properly to avoid unwanted colors bleeding during the process.
2. Applying Masking Tape
Applying masking tape is an important step to protect the leather surface during engraving. This tape acts as a barrier, minimizing the risk of damage from soot and residue that can accumulate during the process.
Choose a high-quality masking tape that adheres well without leaving residue upon removal. It should cover areas not intended for engraving, ensuring clean edges.
For intricate leather projects, multiple layers of tape can be beneficial. Additionally, trimming the tape to fit specific designs can enhance the final look. After the engraving is complete, removing the tape carefully will reveal crisp, clean lines, enhancing the overall presentation of the project.
How to Clean Leather After Engraving
After engraving, it’s important to clean the leather to remove residue like char or wax. Conditioning the surface also helps keep the leather strong and smooth.
1. Removing Residue and Char
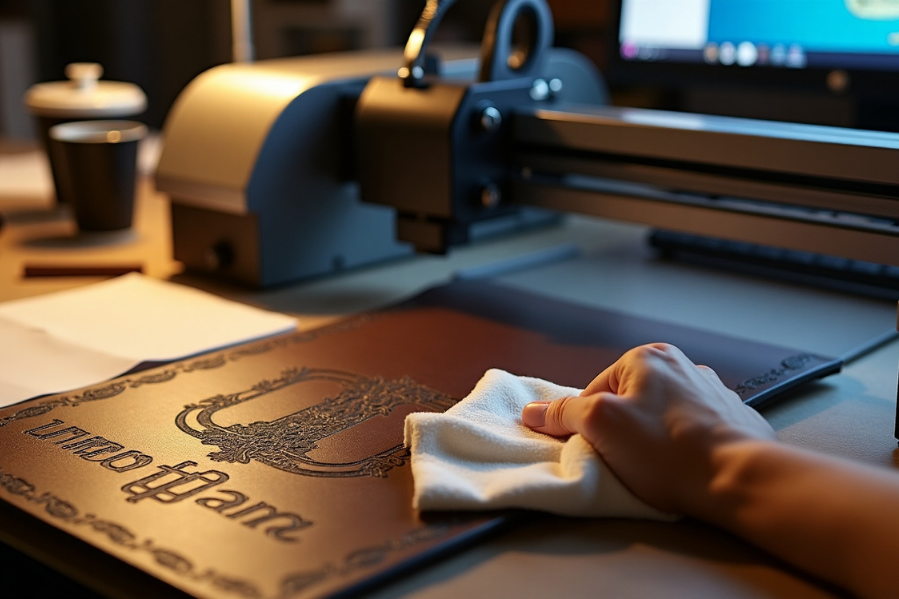
To effectively remove residue and char, allow the leather to cool down completely before handling. Use a soft-bristle brush to gently sweep away any debris. This helps remove loose char particles that may accumulate in the engraved areas.
For tougher residue, consider using a damp cloth with a mild cleaner. Focus on the engraved sections where char and wax are more pronounced. Avoid excessive moisture to prevent damaging the leather.
Proper ventilation is essential during this process. Working in a well-ventilated area or using an exhaust fan can help disperse any odors and prevent buildup within the workspace.
2. Conditioning the Leather
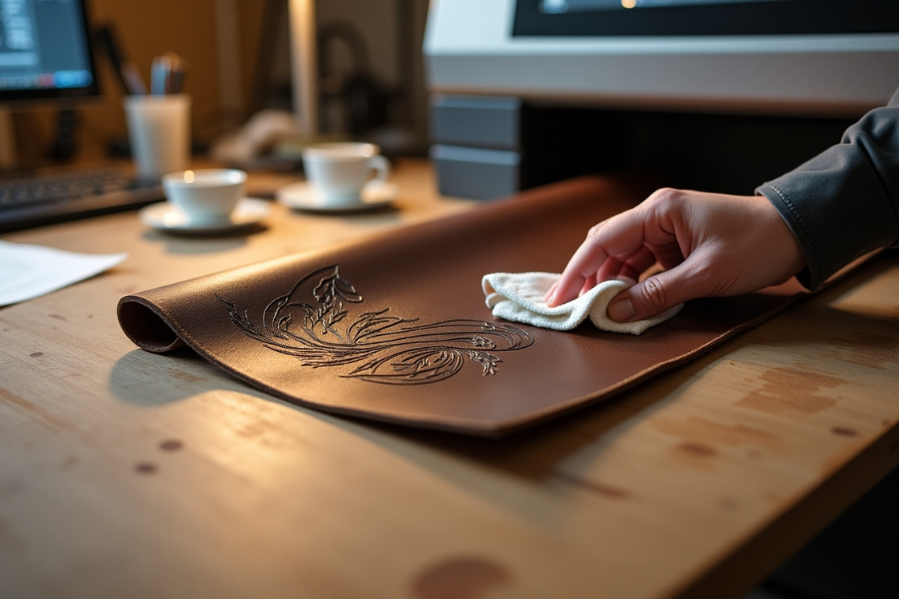
Once the residue has been removed, conditioning the leather is necessary to restore its natural oils. A suitable leather conditioner should be applied sparingly to avoid a heavy, waxy buildup.
Using a clean, soft cloth, work the conditioner into the leather using circular motions. This ensures even distribution and absorption. The goal is to maintain flexibility and protect against future wear.
Regular conditioning after engravings can extend the life of the leather. It also helps in keeping the surface supple and enhances the grain appearance, making it more visually appealing.
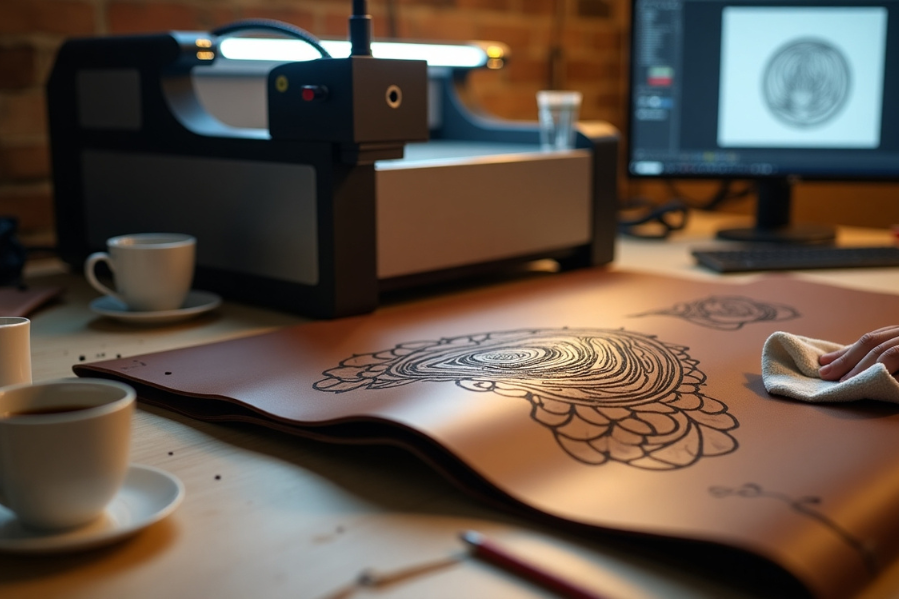
How to Get the Best Results from Leather Engraving
To get the best results from leather engraving, adjust your laser’s speed, power, and frequency. These settings directly affect how sharp and clear the design looks.
1. Adjusting Speed and Power Settings
Speed and power settings directly impact the engraving process. A lower speed typically allows for deeper engraving, as the laser has more time to affect the material. Conversely, higher speeds can create lighter engravings or even etchings.
When adjusting these settings:
- Speed: Slower speeds (e.g., 10-20 mm/s) work well for detailed designs, while faster speeds are suitable for simple patterns.
- Power: Operating at 50-70% power is common for leather. This range prevents burning while ensuring a clean cut.
Experimentation is key. Test various combinations to determine which settings produce the best results for specific leather types and desired effects.
2. Laser Frequency and Its Impact
Laser frequency plays a significant role in engraving quality. Frequency refers to the number of laser pulses per second and is measured in hertz (Hz).
Higher frequencies (e.g., 5000 Hz) can create finer details, but they might lead to increased heat, risking damage to the leather. Lower frequencies (e.g., 1000 Hz) may provide better control, particularly for intricate patterns and designs.
When selecting frequency settings:
- Consider leather thickness: Thicker leather may require lower frequencies for even engraving.
- Understand material characteristics: Different leather finishes react uniquely to frequency adjustments.
Optimal frequency enhances the engraving’s definition while minimizing risk, ensuring the final product meets quality expectations.
Final Thoughts
Cleaning leather after laser engraving is a key step in preserving both its look and durability. By removing residue and conditioning the surface, you ensure the leather stays smooth, sharp, and ready for long-term use.
Proper preparation, the right laser settings, and post-engraving care all work together to achieve professional results. With a bit of practice and the right approach, every engraving can look clean, clear, and long-lasting.
Looking for a laser engraver that delivers clean, professional results on leather? Explore our top-rated machines or contact us for expert advice.
Frequently Asked Questions
1. What is the best method to clean leather following laser engraving?
The best method involves allowing the leather to cool completely after engraving. Then, a soft-bristle brush can be used to gently remove any debris or residue from the surface. This helps to prevent scratching and maintains the leather’s integrity.
2. How can burn marks from laser engraving be effectively removed from leather?
To effectively remove burn marks, a fine-grit sandpaper can be used gently to buff the affected area. After sanding, applying a leather conditioner will help restore the leather’s original texture and color. Care should be taken not to over-sand, as this can further damage the leather.
3. How do you keep laser engraved leather from smearing?
To avoid smearing during laser engraving, apply a layer of masking tape over the leather before starting. This helps protect the surface from smoke and residue without affecting the final design. Once the engraving is done, gently peel off the tape to reveal a clean, sharp result.
4. Does polishing remove engraving?
Polishing alone won’t remove an engraving. To fully erase it, the engraved area must first be lasered down to match the surface level. After that, polishing smooths and blends the metal to restore a clean finish.